
A backyard recording studio can give you the privacy, creative control, and professional sound quality that a bedroom setup rarely provides. However, turning a shed or outbuilding into a reliable creative space requires more than adding microphones and acoustic panels. You need to address permits, setbacks, sound isolation, room acoustics, quiet climate control, and safe electrical and data infrastructure from the beginning.
With expert planning and experienced construction, your studio can become a comfortable, polished space designed around the way you record, mix, rehearse, or create content. The right design helps prevent costly corrections, protect your equipment, improve your workflow, and keep sound where it belongs. When built properly, your backyard studio becomes more than an upgrade. It becomes a dependable creative asset that supports better work for years to come.
Key Takeaways
- Plan the site, structure, permits, utilities, and workflow before construction begins. Early coordination prevents zoning problems, costly redesigns, and infrastructure retrofits.
- Treat sound isolation and room acoustics as separate but equally important systems. Structural isolation keeps noise contained, while correctly designed treatment, speaker placement, and bass control produce accurate monitoring.
- Build quiet climate control, dedicated electrical circuits, safe grounding, wired data, organized cable routing, and secure storage into the studio from the start. These systems improve reliability, comfort, equipment protection, and day-to-day workflow.
- Budget for the complete project, including site work, permits, isolation assemblies, HVAC, electrical, networking, acoustic treatment, equipment, labor, and contingency. Choose providers based on comparable experience, documented measurements, references, and a clear handoff process.
Backyard Studio Planning And Permits
Before choosing a backyard studio design, evaluate the site as carefully as you would the room itself. Review the available yard space, drainage, slope, construction access, proximity to neighbors, and routes for power, data, heating, cooling, and ventilation. A converted shed may be economical, while a studio pod can simplify installation, a garage-style structure can provide more room, and a custom outbuilding gives you the greatest control over isolation, acoustics, and workflow. Your choice should reflect the intended use, whether you plan to record podcasts, produce voice-over work, create music, or rehearse. Experienced planning support helps you compare these options realistically before an attractive concept becomes an expensive compromise.
Local requirements may determine the project’s size, placement, and construction method before design work begins. Confirm zoning, property-line setbacks, height limits, lot coverage, utility rules, building and electrical permits, and any occupancy or egress standards that may apply. If you plan to operate a home-based recording business, also verify requirements for client access, parking, signage, and noise. A detached structure can still be subject to rules that differ from those for a simple storage shed, so assumptions can lead to redesigns, delays, or enforcement issues. Early coordination with experienced design and construction professionals gives you a clear approval path and helps protect your budget.
A well-planned backyard studio balances compliance with the technical demands of professional recording. Your team should coordinate the foundation, wall and ceiling assemblies, doors, windows, HVAC, electrical circuits, and acoustic treatments so sound isolation and room performance are built into the structure rather than added through costly fixes. Skilled construction support can also identify conflicts between permitting requirements and studio goals, such as ventilation noise, emergency access, or insufficient structural capacity. Ask prospective professionals for documented project experience, references, and measurable results where available, including completed approvals, delivery timelines, and successful sound-control outcomes. With the right guidance from the beginning, you can create a legal, comfortable, reliable workspace that supports serious creative work for years.
Sound Isolation And Room Acoustics
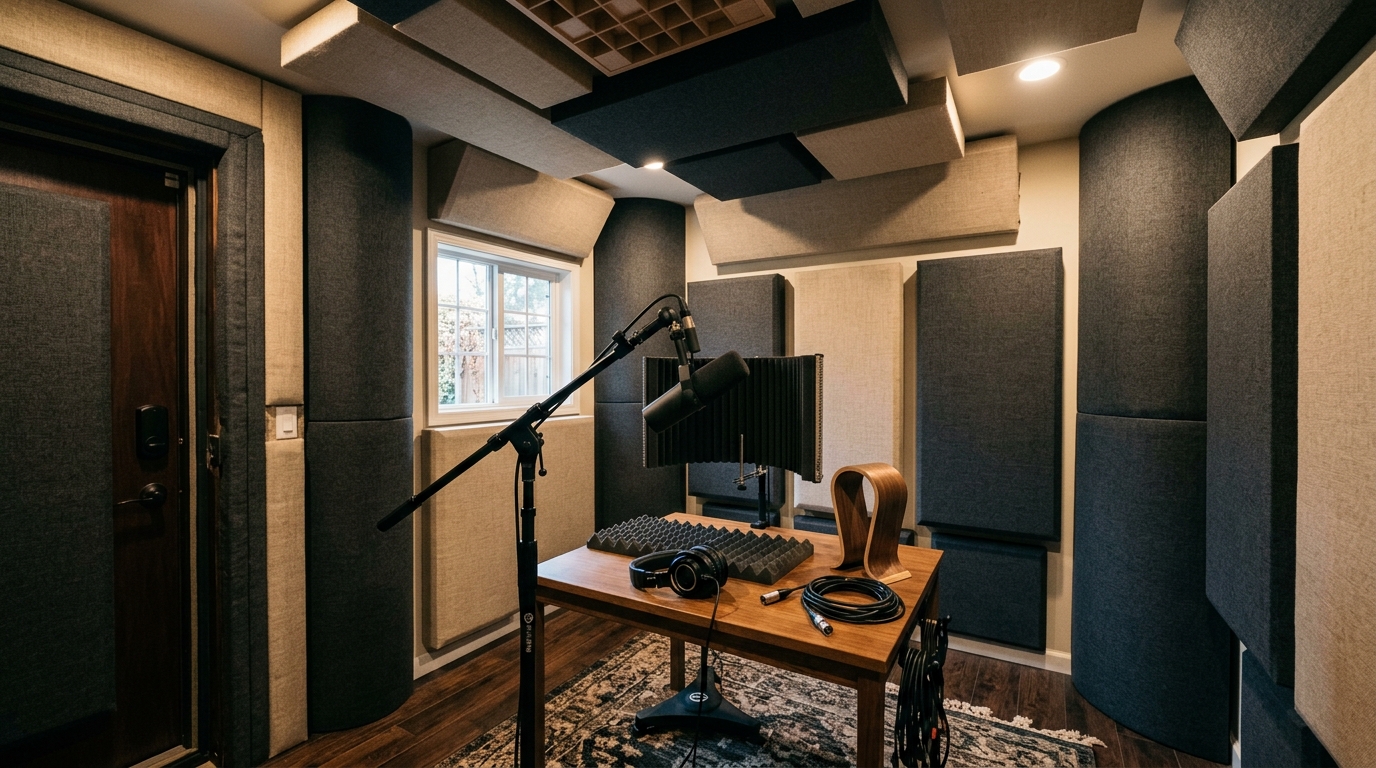
Sound isolation keeps unwanted noise from entering or escaping your backyard recording studio, while acoustic treatment controls how sound behaves inside the room. Effective isolation starts with decoupled walls, airtight construction, dense insulation, and carefully sealed gaps throughout the structure. Doors should be solid, properly installed, and fitted with effective gaskets. Windows may require laminated glass, secondary glazing, or limited placement to reduce weak points. These details help protect your neighbors from drums, amplified instruments, and late-night sessions while giving you a quieter environment for focused creative work.
Acoustic treatment addresses reflections, resonance, and uneven frequency response after sound has been isolated. Strategic absorption manages early reflections, diffusion preserves a natural sense of space, and bass control helps prevent low-frequency buildup in corners and along wall boundaries. Your monitoring position also matters. Placing your speakers and listening position correctly within the room can improve stereo imaging and reduce the effects of room modes. A professional design balances these elements instead of simply covering the walls with foam, helping your recordings translate more reliably to headphones, cars, and other listening environments.
Experienced studio design guidance helps you make informed choices about construction, treatment, equipment placement, and available space before costly work begins. You receive a purpose-built room that supports accurate recording and mixing while improving privacy, comfort, and day-to-day workflow for music, podcasts, voice-over work, or remote content creation. Careful planning can also identify isolation weaknesses and acoustic problems before they affect your sessions, protecting your investment and reducing disruptive revisions. With the right expertise, your backyard recording studio becomes a quieter, more dependable workspace that supports professional results and respectful relationships with the people around you.
Backyard Studio Infrastructure And Equipment
A backyard recording studio performs best when its infrastructure is planned as carefully as its acoustic treatment. You need quiet HVAC and balanced ventilation to maintain a comfortable room without adding fan noise, temperature swings, or stale air during long sessions. Dedicated electrical circuits, proper grounding, and strategically placed outlets help protect sensitive equipment while reducing hum, interference, and overloaded household wiring. Thoughtful lighting gives you a controlled visual environment for recording, editing, and video calls without introducing unwanted electrical noise. An integrated build addresses these systems early, improving comfort and reliability while preventing expensive retrofits later.
Your data and signal pathways should support fast, repeatable production from the moment you enter the room. Hardwired internet can provide more stable remote sessions and file transfers, while concealed cable routing keeps microphone, monitor, instrument, and network lines organized and easy to service. A professional setup may include an appropriate audio interface, microphones, preamps, headphones, monitor speakers, and acoustic controls selected for the room’s size and purpose. Proper monitor placement, including symmetrical positioning and appropriate distance from walls, helps you make more accurate mixing decisions. With infrastructure designed around your workflow, the studio can support music, podcasts, voice-over work, and remote creative projects without the clutter or interruptions common in improvised spaces.
Secure storage completes the workspace by protecting microphones, instruments, drives, and other valuable equipment from dust, moisture, and unauthorized access. Lockable cabinets, dedicated shelving, and organized charging areas let you keep essential tools close at hand while preserving clear walking paths and a professional appearance. Combining these details with sound isolation, acoustic treatment, and dependable power reduces the technical problems that can undermine otherwise excellent recordings. An experienced integrated design team can coordinate building systems and production needs so your backyard recording studio remains consistent across seasons and projects. The result is a private, comfortable workspace that helps you deliver polished work remotely with greater confidence and fewer technical surprises.
Backyard Recording Studio Budget And Build Process
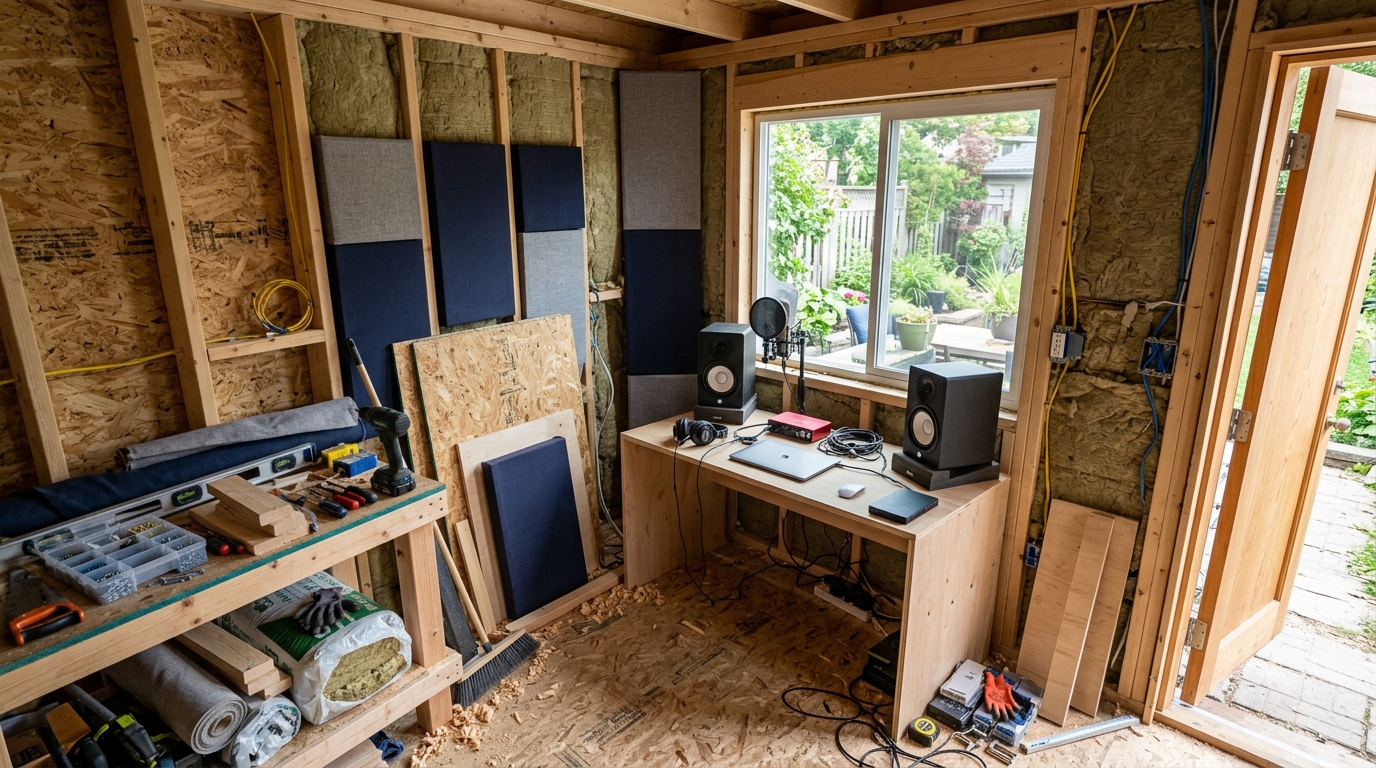
A backyard recording studio is a small construction project, so your budget should account for more than the shell itself. Foundation work, framing, roofing, windows, doors, insulation assemblies, and interior finishes establish the baseline. Sound isolation can add substantial cost through decoupled walls, layered drywall, acoustic sealants, floating floors, and specialized doors. You should also plan for quiet climate control, fresh-air ventilation, dedicated electrical circuits, networking, lighting, acoustic treatment, and recording equipment. Labor, site access, drainage, utility connections, permits, and contingency funds can significantly affect the final price, especially when your property has challenging soil, tight setbacks, or limited access.
A reliable build process begins with a consultation that defines your room size, recording goals, equipment, noise concerns, and future expansion plans. Your provider should then complete a measured design, confirm zoning and permit requirements, engineer the isolation and building assemblies, and coordinate construction from the foundation through electrical, climate control, and interior finishing. Once the structure is complete, acoustic calibration should use measured frequency response, decay times, isolation performance, and background-noise levels to refine treatment and confirm that the room performs as designed. A professional handoff should include system documentation, operating guidance, maintenance recommendations, and a clear record of any remaining adjustments.
Before choosing a studio-building provider, ask for testimonials from clients with comparable backyard projects and review project photos that show both finished spaces and critical construction details. Look for documented success metrics, such as reduced exterior noise, improved low-frequency balance, controlled reverberation, reliable temperature and humidity, and faster recording or mixing workflows. An experienced team should explain how its designs address local regulations, weather, ventilation, electrical safety, and long-term equipment needs rather than focusing only on appearance. When the evidence combines verified measurements, clear communication, and results that match your creative goals, you can invest with greater confidence in a professional workspace built for dependable remote work and content production.
Plan Your Backyard Studio for Professional Results
A backyard recording studio is a specialized building project, not simply a shed conversion with microphones and acoustic panels. To achieve dependable results, you need professional planning that addresses zoning, permits, structural design, sound isolation, room acoustics, electrical capacity, data connections, and quiet climate control from the beginning. Proper isolation helps keep outside noise out and your recordings in, while carefully designed acoustic treatment supports accurate monitoring for music, podcasts, voice-over work, and other remote creative projects. Investing in these systems also gives you greater privacy and a more focused workflow than a bedroom or shared home office can provide.
With experienced guidance, you can avoid costly retrofits and create a studio that performs consistently through changing seasons and evolving creative demands. A well-planned backyard recording studio can become a long-term advantage, supporting professional sessions, reliable remote collaboration, and more productive independent work. The strongest results come from treating the space as a complete building system rather than a collection of add-ons, with every detail coordinated before construction begins. By investing in expert planning, isolation, acoustics, and infrastructure, you gain a purpose-built creative environment that delivers lasting value.
Frequently Asked Questions
1. What should you consider before building a backyard recording studio?
Evaluate the site, available yard space, drainage, slope, property-line setbacks, neighbor proximity, and construction access before choosing a design. You should also plan routes for power, data, heating, cooling, and ventilation so the finished studio supports your workflow without costly modifications.
2. Do you need permits for a backyard recording studio?
Most backyard studios require some combination of zoning approval, building permits, electrical permits, and utility review. Local rules may also control setbacks, height, lot coverage, occupancy, and insulation requirements, so confirm them before finalizing the design. Experienced planning and construction support helps you avoid delays, redesigns, and compliance problems.
3. What type of backyard structure works best for a recording studio?
A converted shed can be economical, while a studio pod may simplify installation and a custom outbuilding provides the greatest control over sound isolation, acoustics, and layout. A garage-style structure may be the better choice when you need room for rehearsal, multiple musicians, or larger equipment. The right option depends on whether you plan to record, mix, rehearse, produce podcasts, or create voice-over content.
4. How do you soundproof a backyard recording studio?
Effective sound isolation starts with the building envelope, including dense walls, sealed joints, properly designed doors, high-performance windows, and an isolated floor or ceiling assembly where needed. Acoustic panels improve sound inside the room, but they do not replace structural isolation. Your design team should plan these systems together so outside noise stays out and your recordings stay contained, protecting both your sessions and your relationship with neighbors.
5. How should you control room acoustics in a backyard studio?
Room dimensions, ceiling height, speaker placement, bass management, absorption, and diffusion all affect what you hear while recording and mixing. A professional design balances reflection control with enough liveliness to keep the space comfortable and natural. This approach gives you more reliable monitoring decisions and reduces the risk of making expensive corrections after construction.
6. How can you keep a backyard recording studio comfortable and quiet?
Choose heating and cooling equipment designed for low-noise operation, then isolate vibration and route ventilation carefully so the system does not interfere with microphones. Proper insulation, air sealing, and humidity control also protect instruments, electronics, and finished surfaces. Planning climate control from the beginning creates a dependable studio you can use comfortably through changing seasons.
7. What electrical and data infrastructure does a backyard recording studio need?
Your studio should have properly sized electrical service, dedicated circuits for sensitive equipment, safe grounding, adequate outlets, and a layout that limits cable clutter. Plan wired data connections, network equipment, and conduit routes before walls are closed, especially if you transfer large audio files or connect to a home network. Licensed professionals can coordinate these systems with the building design for safer, cleaner, and more reliable operation.
8. How can professional planning and construction improve the result?
Experienced studio planning helps you resolve permits, isolation, acoustics, utilities, climate control, and workflow before construction begins. That coordinated process protects your equipment, prevents costly corrections, and produces a polished space built around the way you create. With the right team, your backyard studio becomes a dependable creative asset that supports consistent recording and production for years to come.